Step-by-Step Guide to Installing Vinyl Flooring in Utah Homes
Vinyl flooring has become a popular choice for homes in Utah due to its durability, affordability, and variety of styles. Whether you're renovating a single room or your entire home, installing vinyl flooring can be a rewarding DIY project. This guide will walk you through the process step-by-step, ensuring a smooth and successful installation.
Gather Your Materials
Before beginning, it's essential to gather all necessary materials. You will need:
- Vinyl flooring planks or tiles
- Utility knife
- Measuring tape
- Adhesive (if required)
- Floor roller
- Underlayment (if needed)
- Spacer wedges
Having these items ready will make the installation process more efficient and enjoyable. Preparation is key to achieving a professional-looking finish.
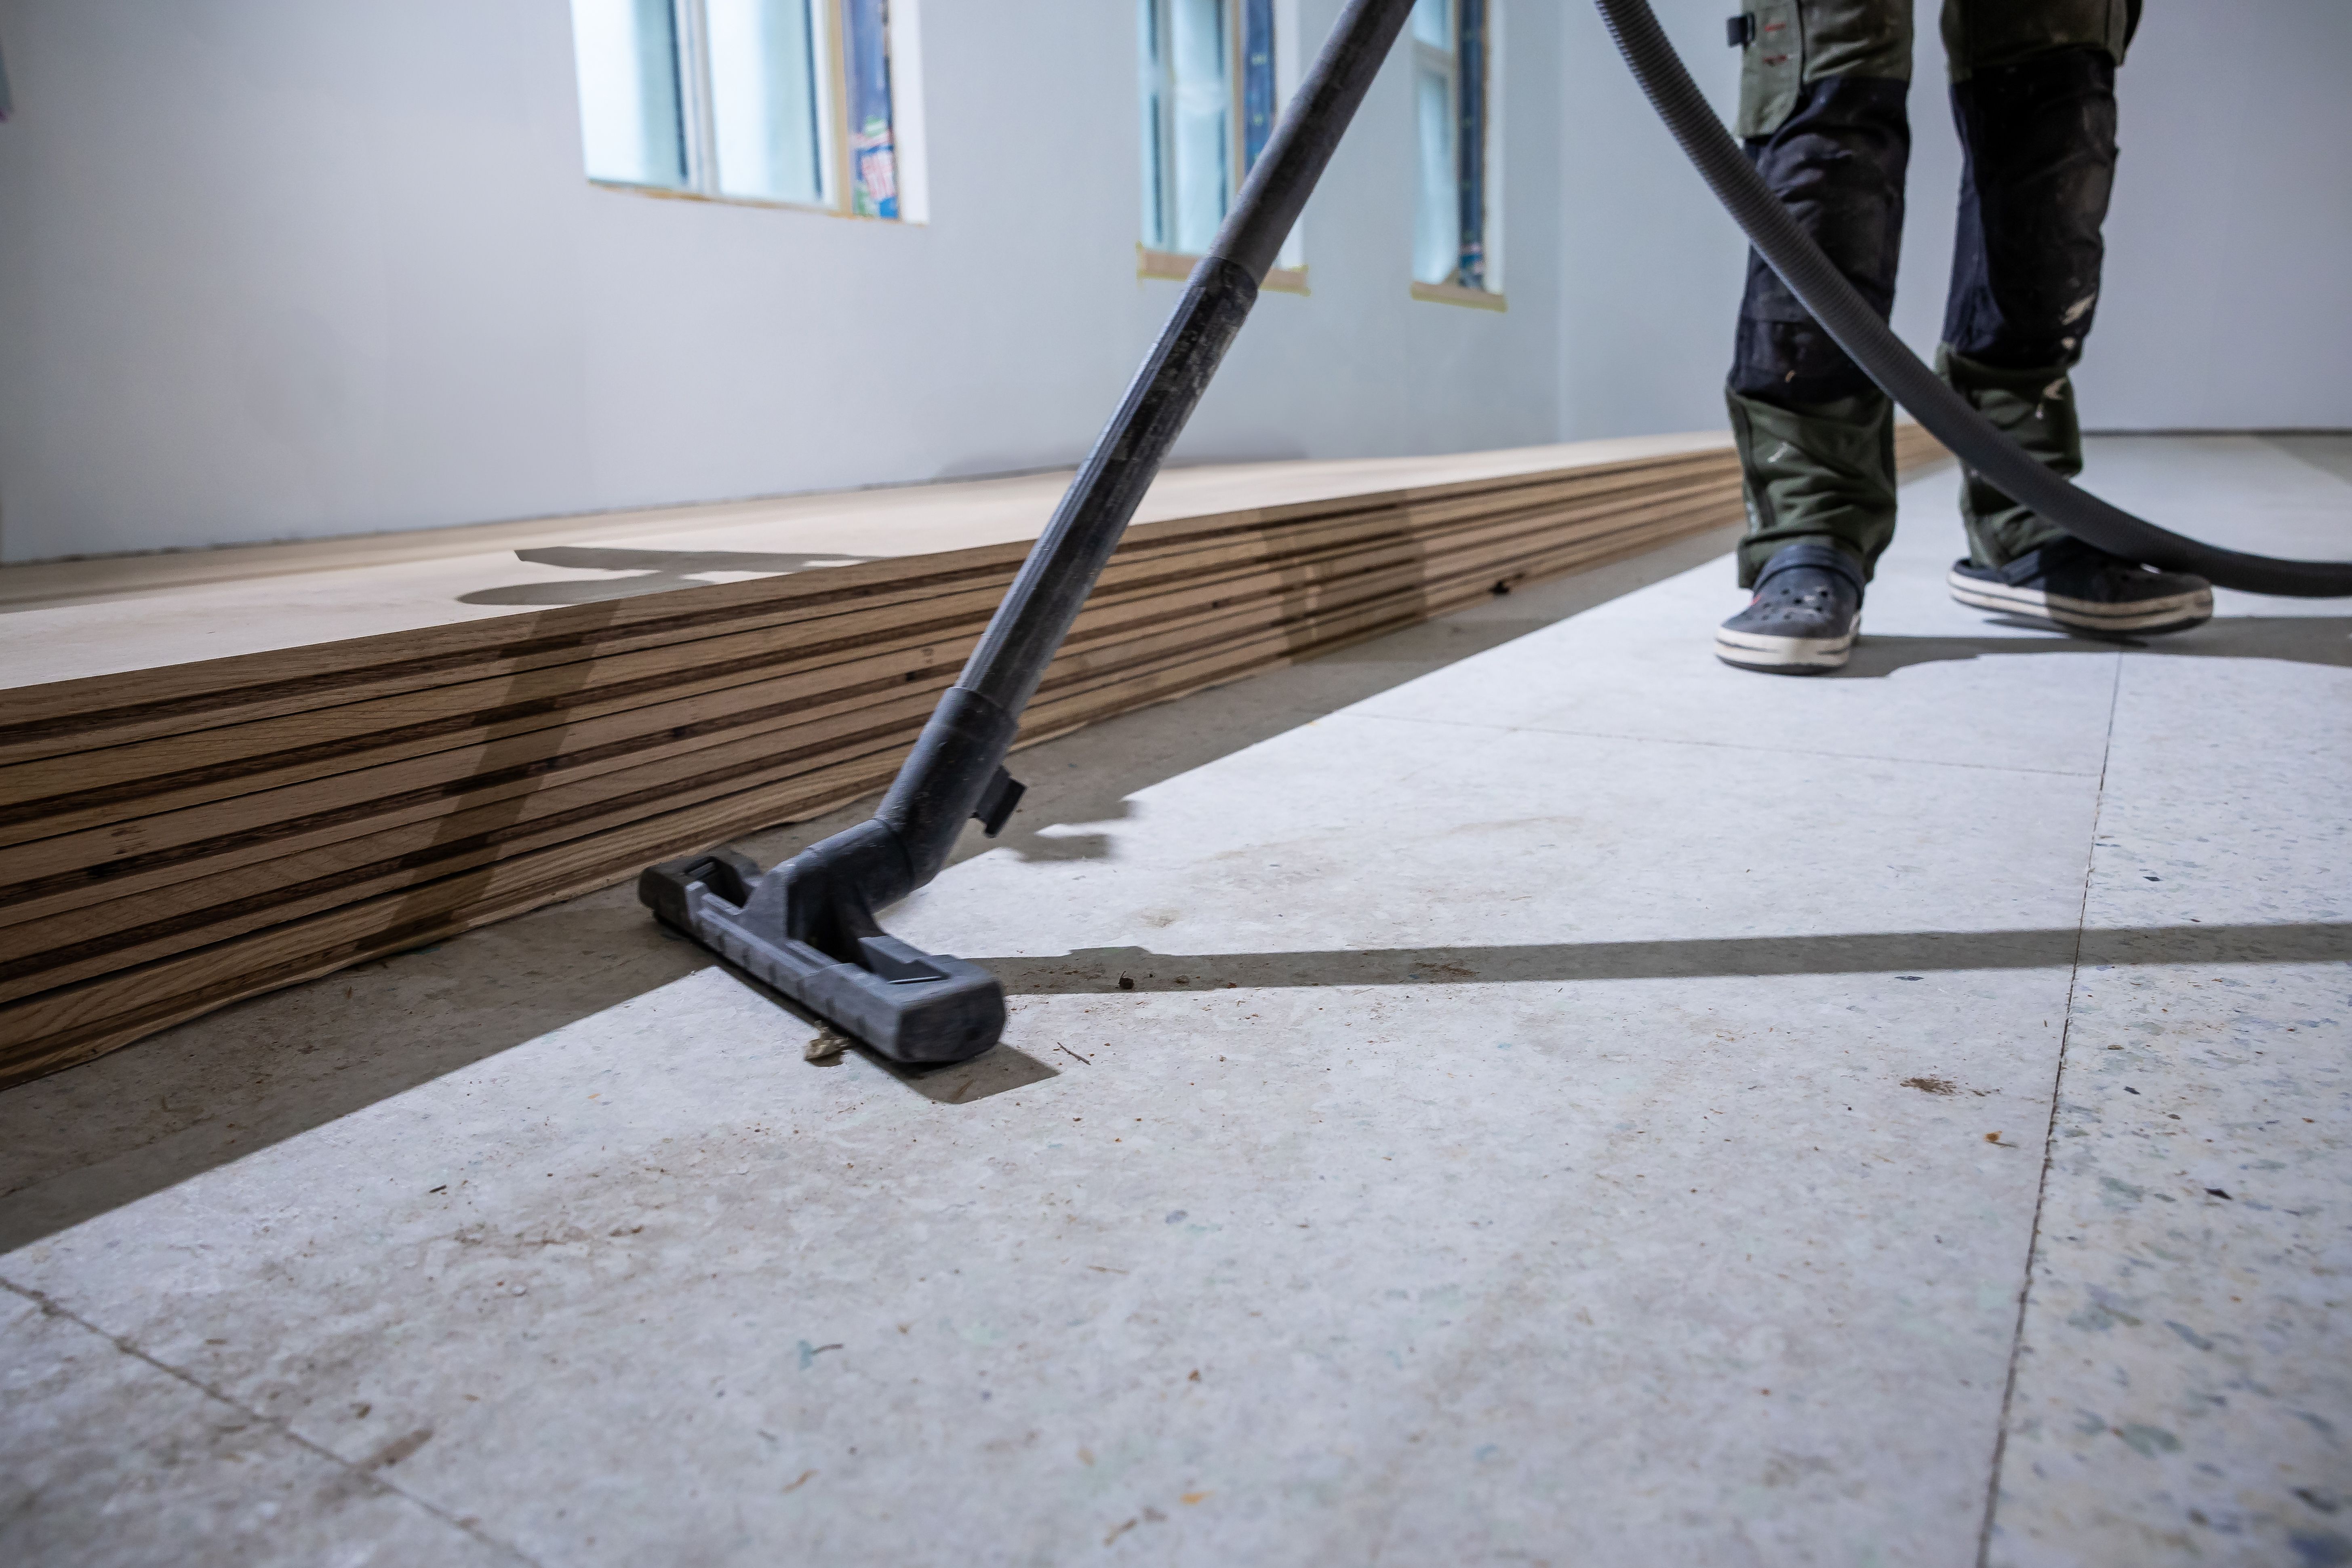
Prepare the Subfloor
The next step is to prepare your subfloor. Ensure it's clean, dry, and level. Remove any old flooring and nails, and fill in any gaps or holes. In Utah, where temperature fluctuations are common, it's crucial to ensure that the subfloor is smooth to avoid any issues in the future.
Check for Moisture
Moisture can be a significant concern, especially in basement installations. Use a moisture meter to check the subfloor's moisture levels. If necessary, install a moisture barrier to protect your new vinyl flooring.
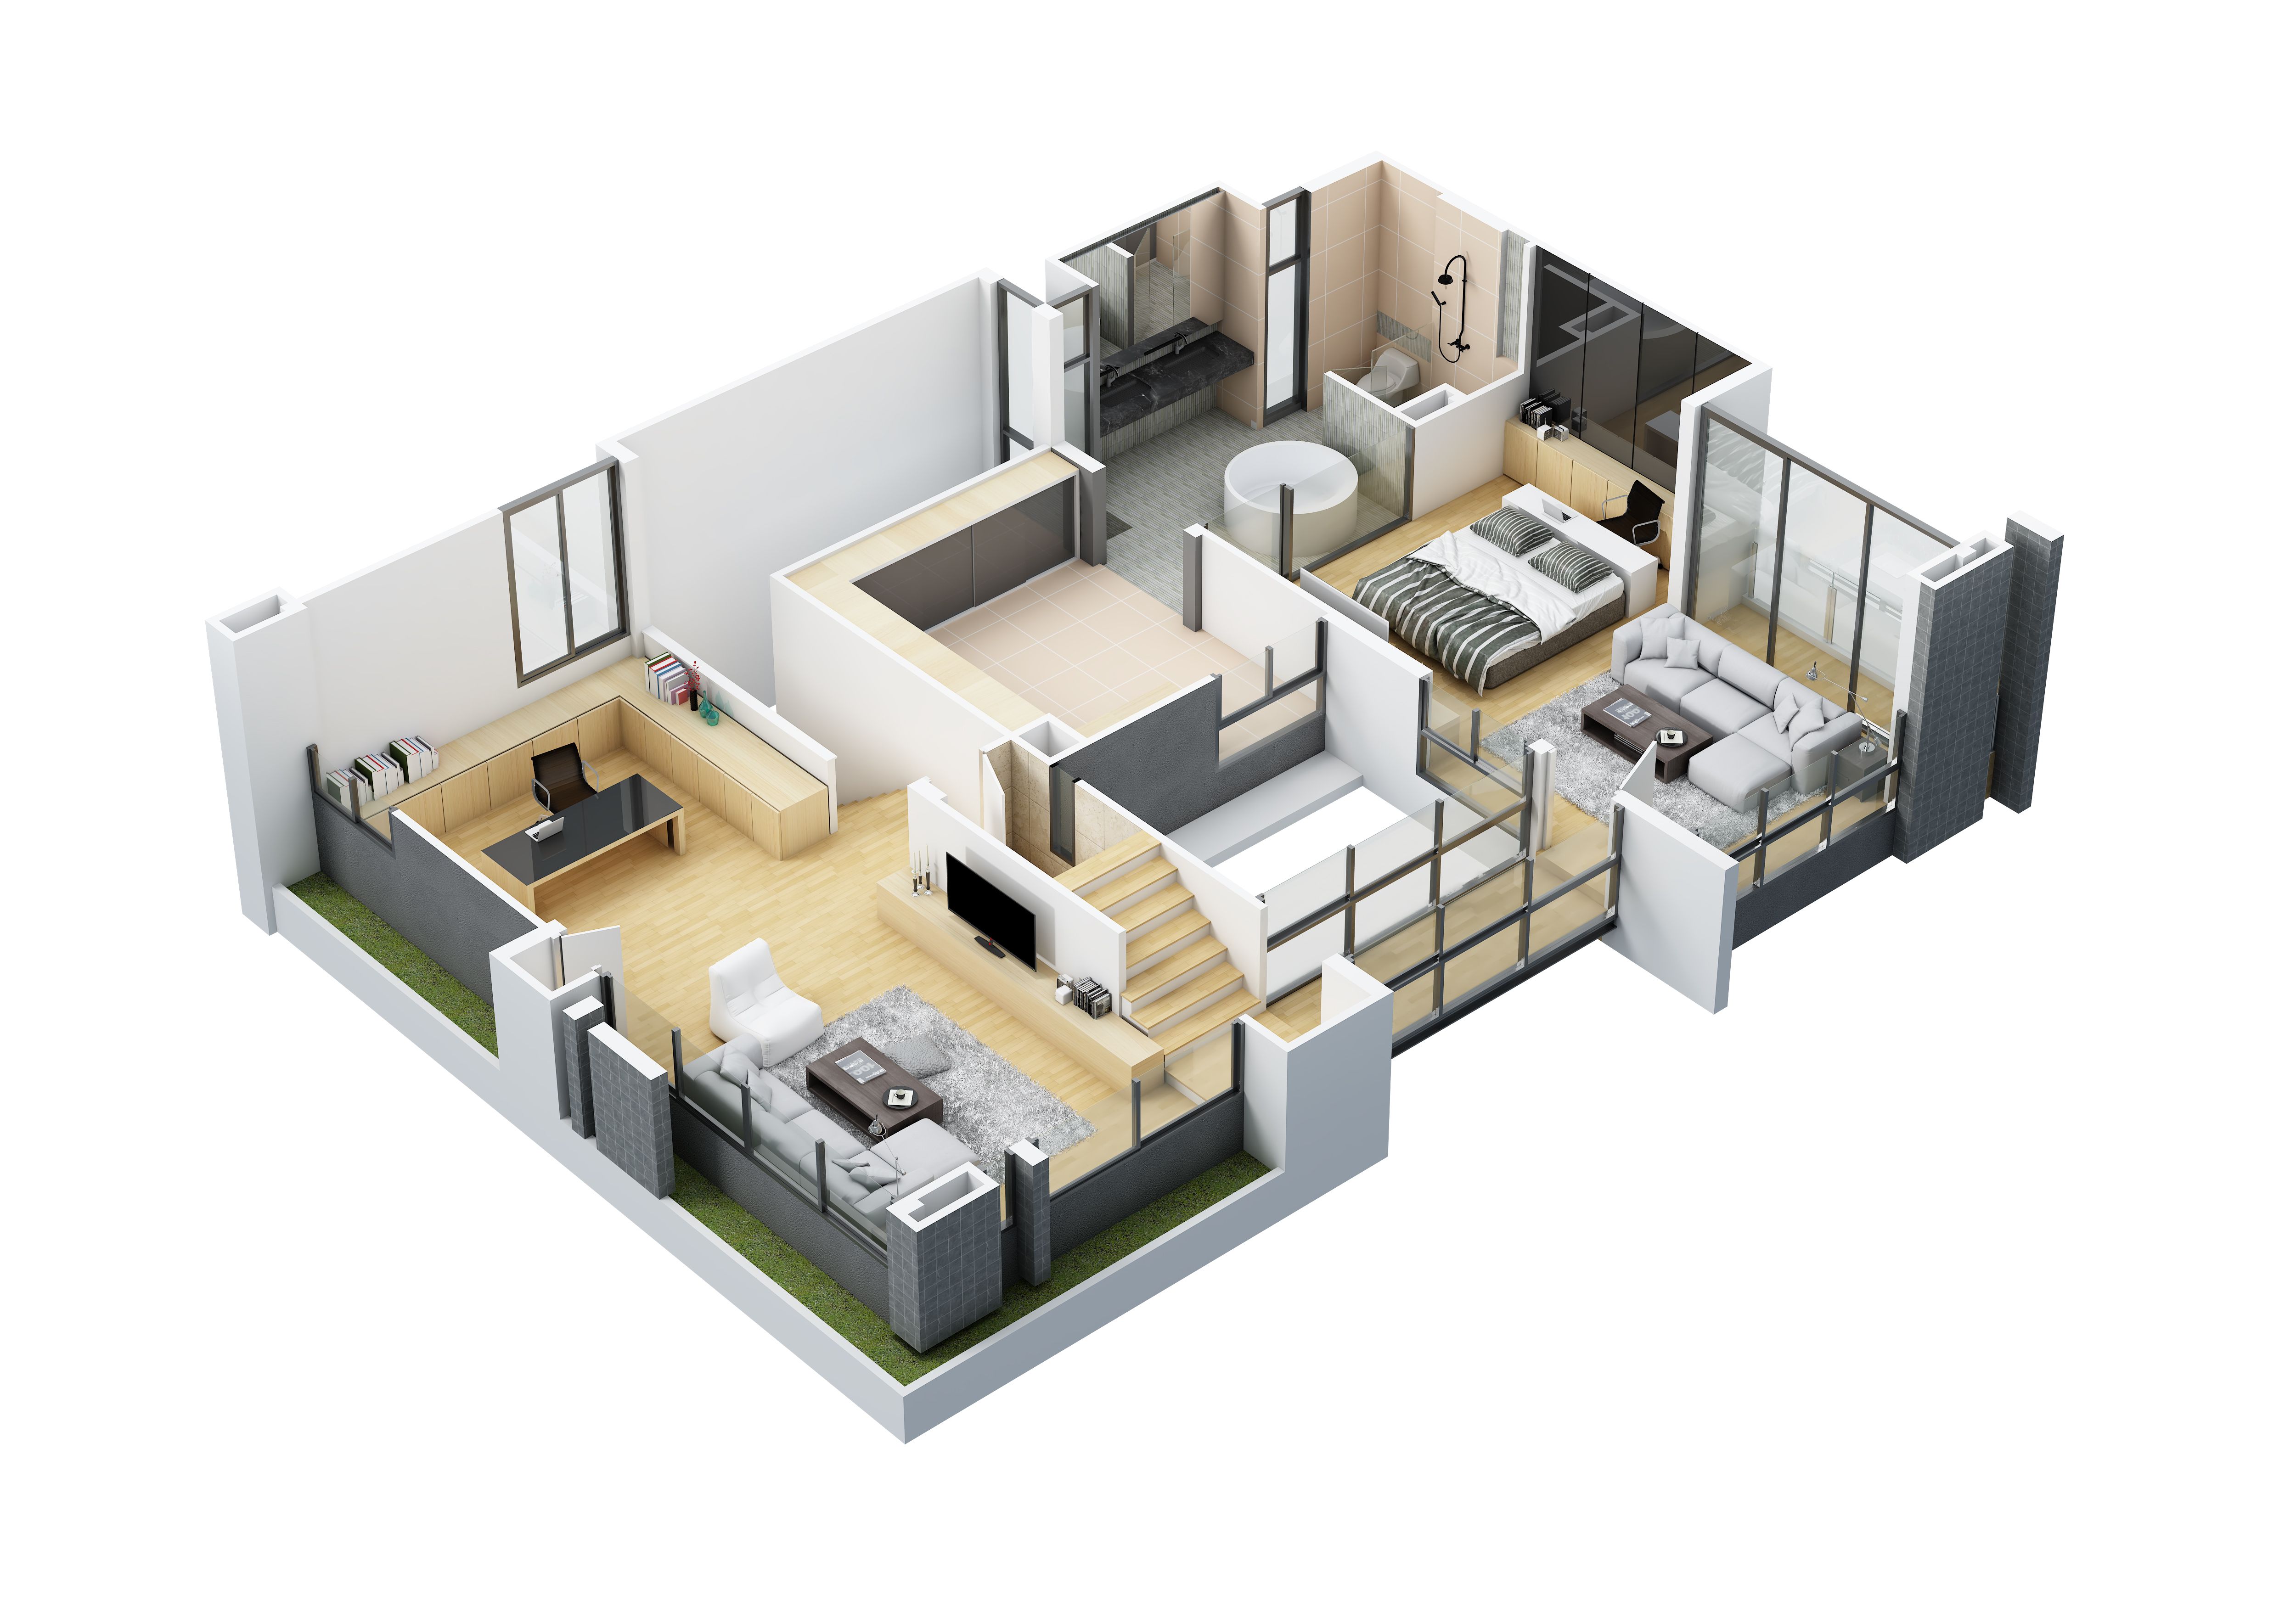
Plan Your Layout
Planning the layout is an essential step that can save you time and frustration later. Measure the room and decide on the direction of the planks or tiles. Many homeowners in Utah prefer a layout that follows the longest wall to create a visually appealing look.
Acclimate the Vinyl
Before installation, allow the vinyl flooring to acclimate to the room's temperature. This is particularly important in Utah, where temperature changes can affect the materials. Leave the vinyl in the room for at least 48 hours before installation.
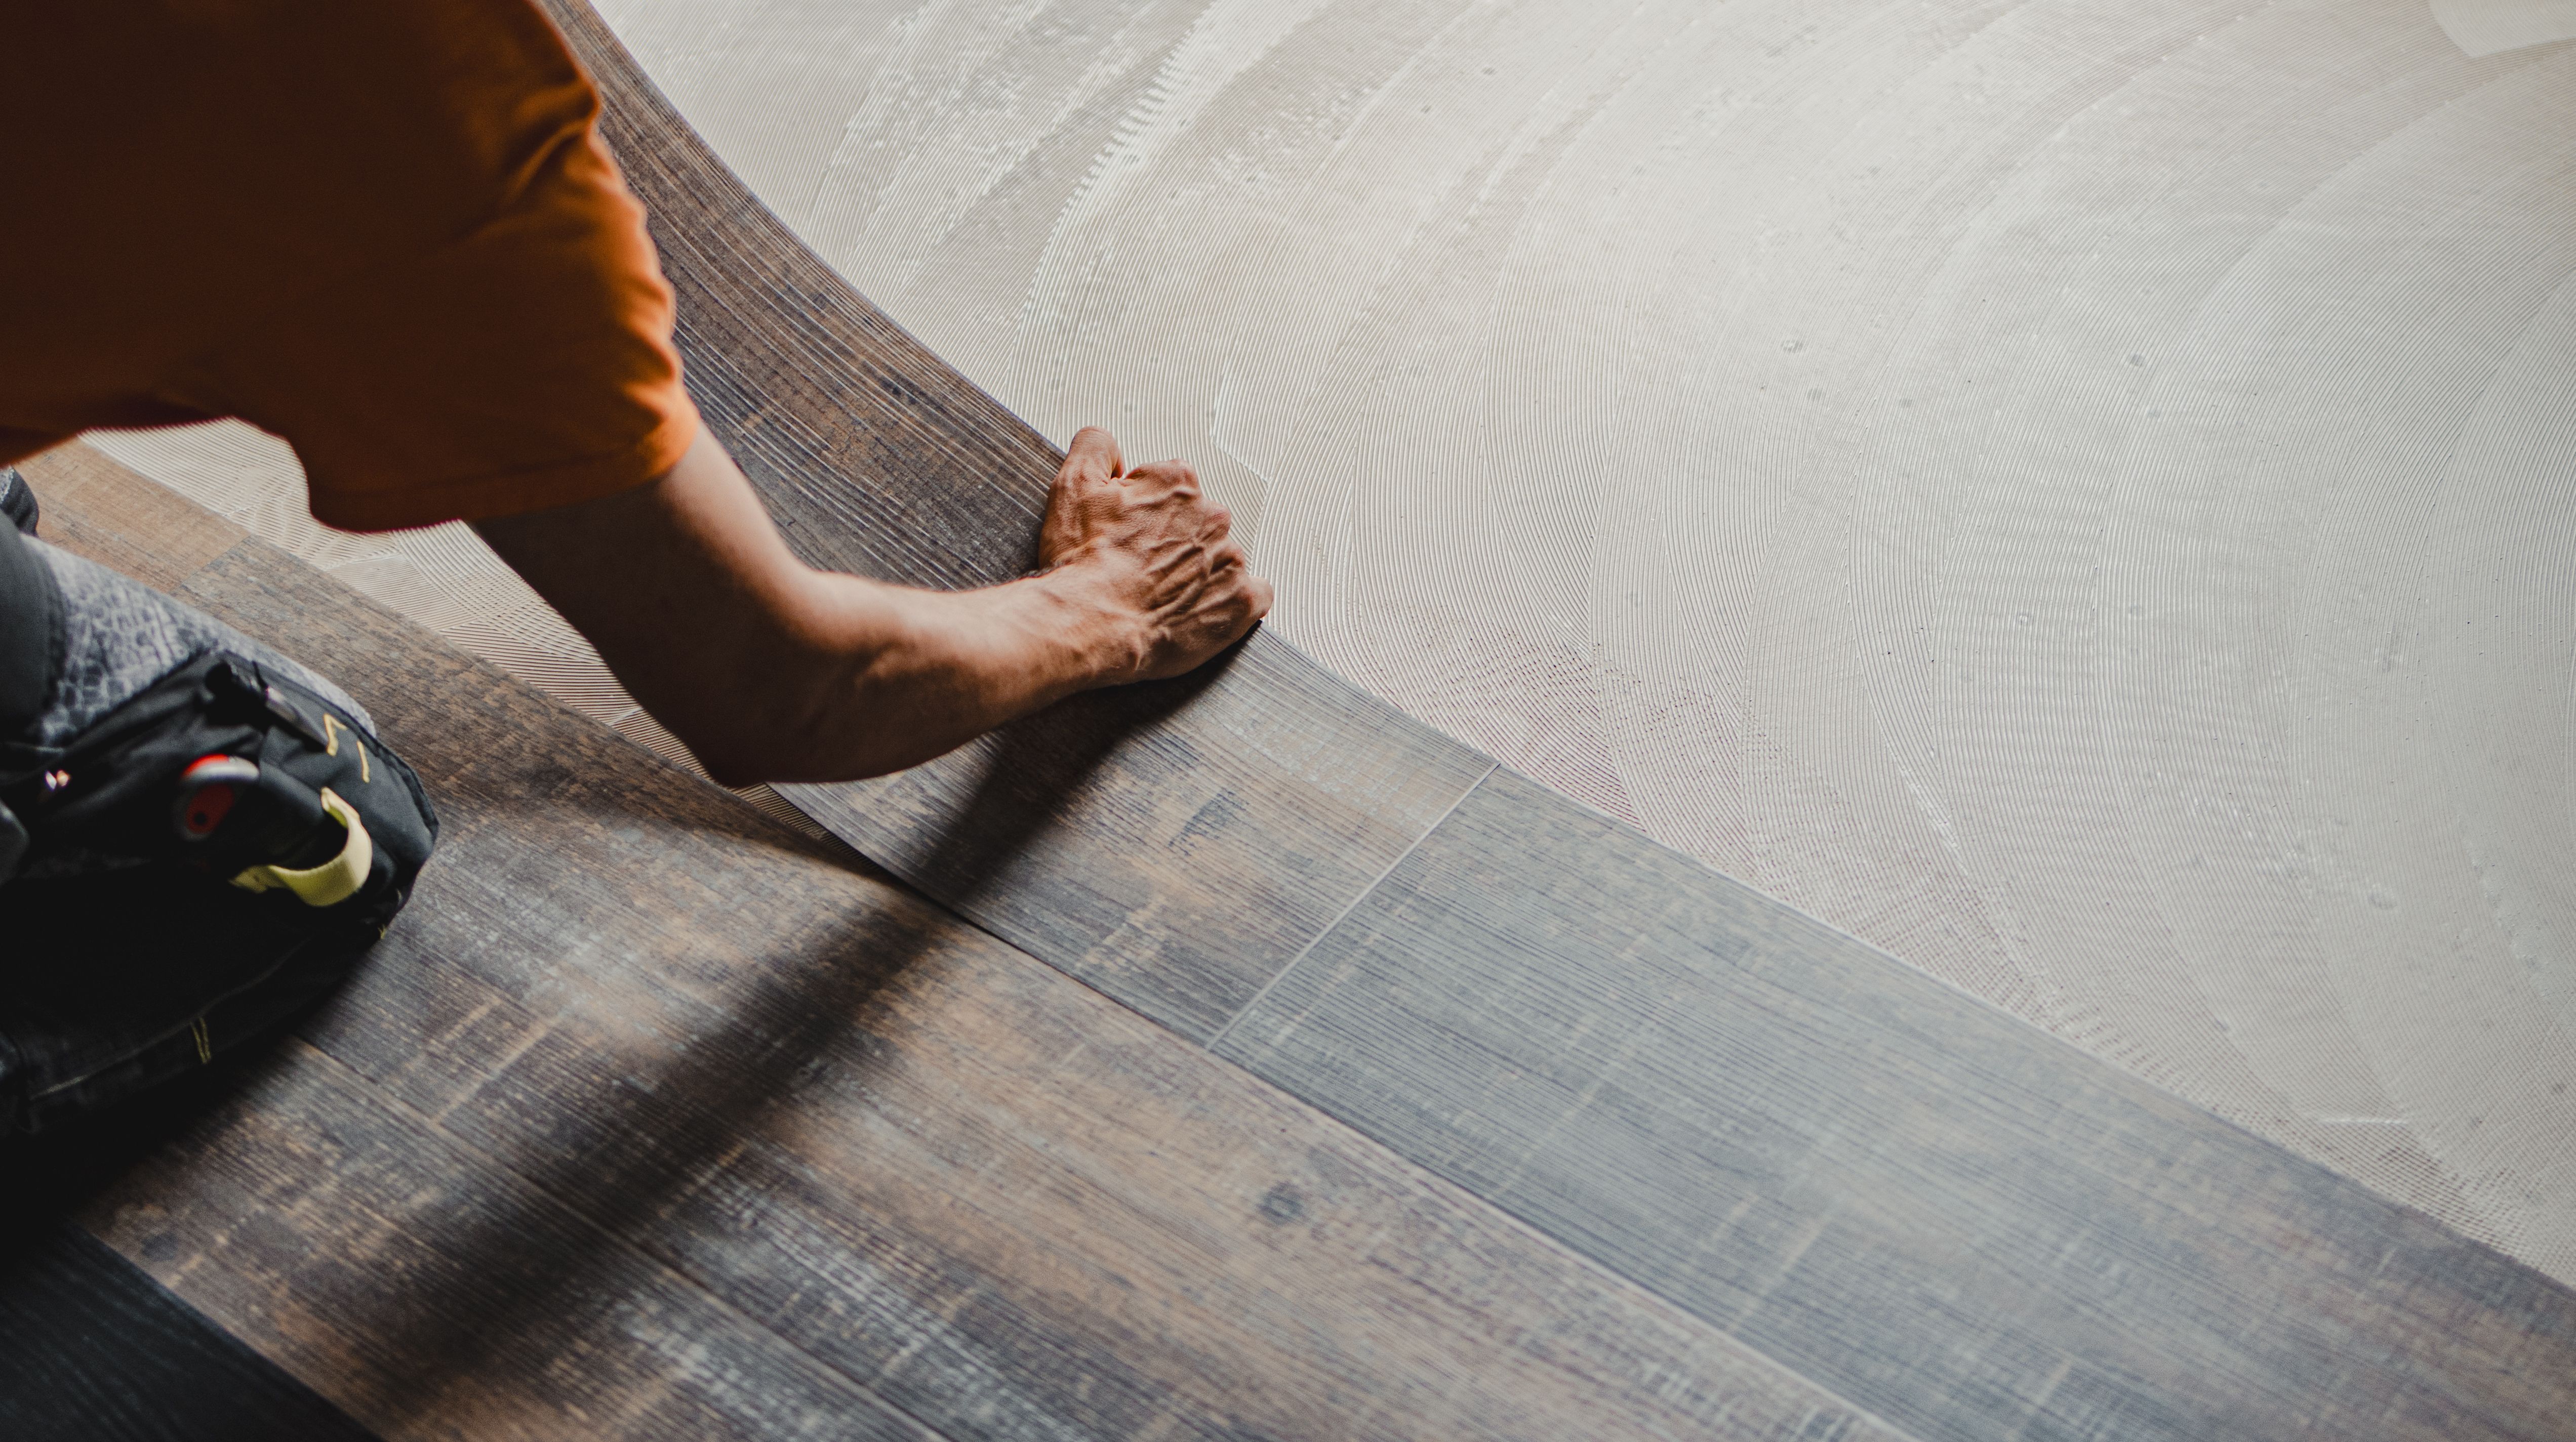
Start the Installation
Begin laying the first row of vinyl flooring against the longest wall, using spacer wedges to maintain an expansion gap. This gap allows for natural expansion and contraction due to temperature changes. Cut the last piece of the row to fit, if necessary.
Continue Laying the Flooring
Stagger the seams by starting the next row with a cut piece from the previous row. This creates a more natural look and adds stability. Use a floor roller to ensure each plank or tile adheres properly, applying even pressure throughout the installation.
Finish the Installation
Once all the vinyl is laid, remove the spacer wedges and install baseboards or moldings to cover the expansion gaps. Clean the floor thoroughly to remove any dust or adhesive residue. Your new vinyl flooring is now ready to enjoy!
By following these steps, you can achieve a beautiful and durable vinyl floor that enhances the aesthetics of your Utah home. Whether you're looking to update a single room or an entire house, vinyl flooring is a versatile option that can withstand the unique environmental conditions found in Utah.