DIY Flooring Installation Tips from Spanish Fork Experts
Are you considering a DIY flooring project in your home? The experts from Spanish Fork have shared some invaluable tips to ensure your flooring installation goes smoothly. Whether you're updating a single room or your entire home, these insights will help you achieve professional-looking results.
Choosing the Right Flooring Material
The first step in any flooring project is selecting the right material. Consider factors such as durability, maintenance, and aesthetics. Popular options include hardwood, laminate, vinyl, and tile. Each has its pros and cons, so choose based on the specific needs of your space.
Hardwood offers a classic look but may require more maintenance. In contrast, laminate is budget-friendly and easy to install. If you're looking for water-resistant options, consider vinyl or tile, especially in kitchens and bathrooms.

Preparing Your Subfloor
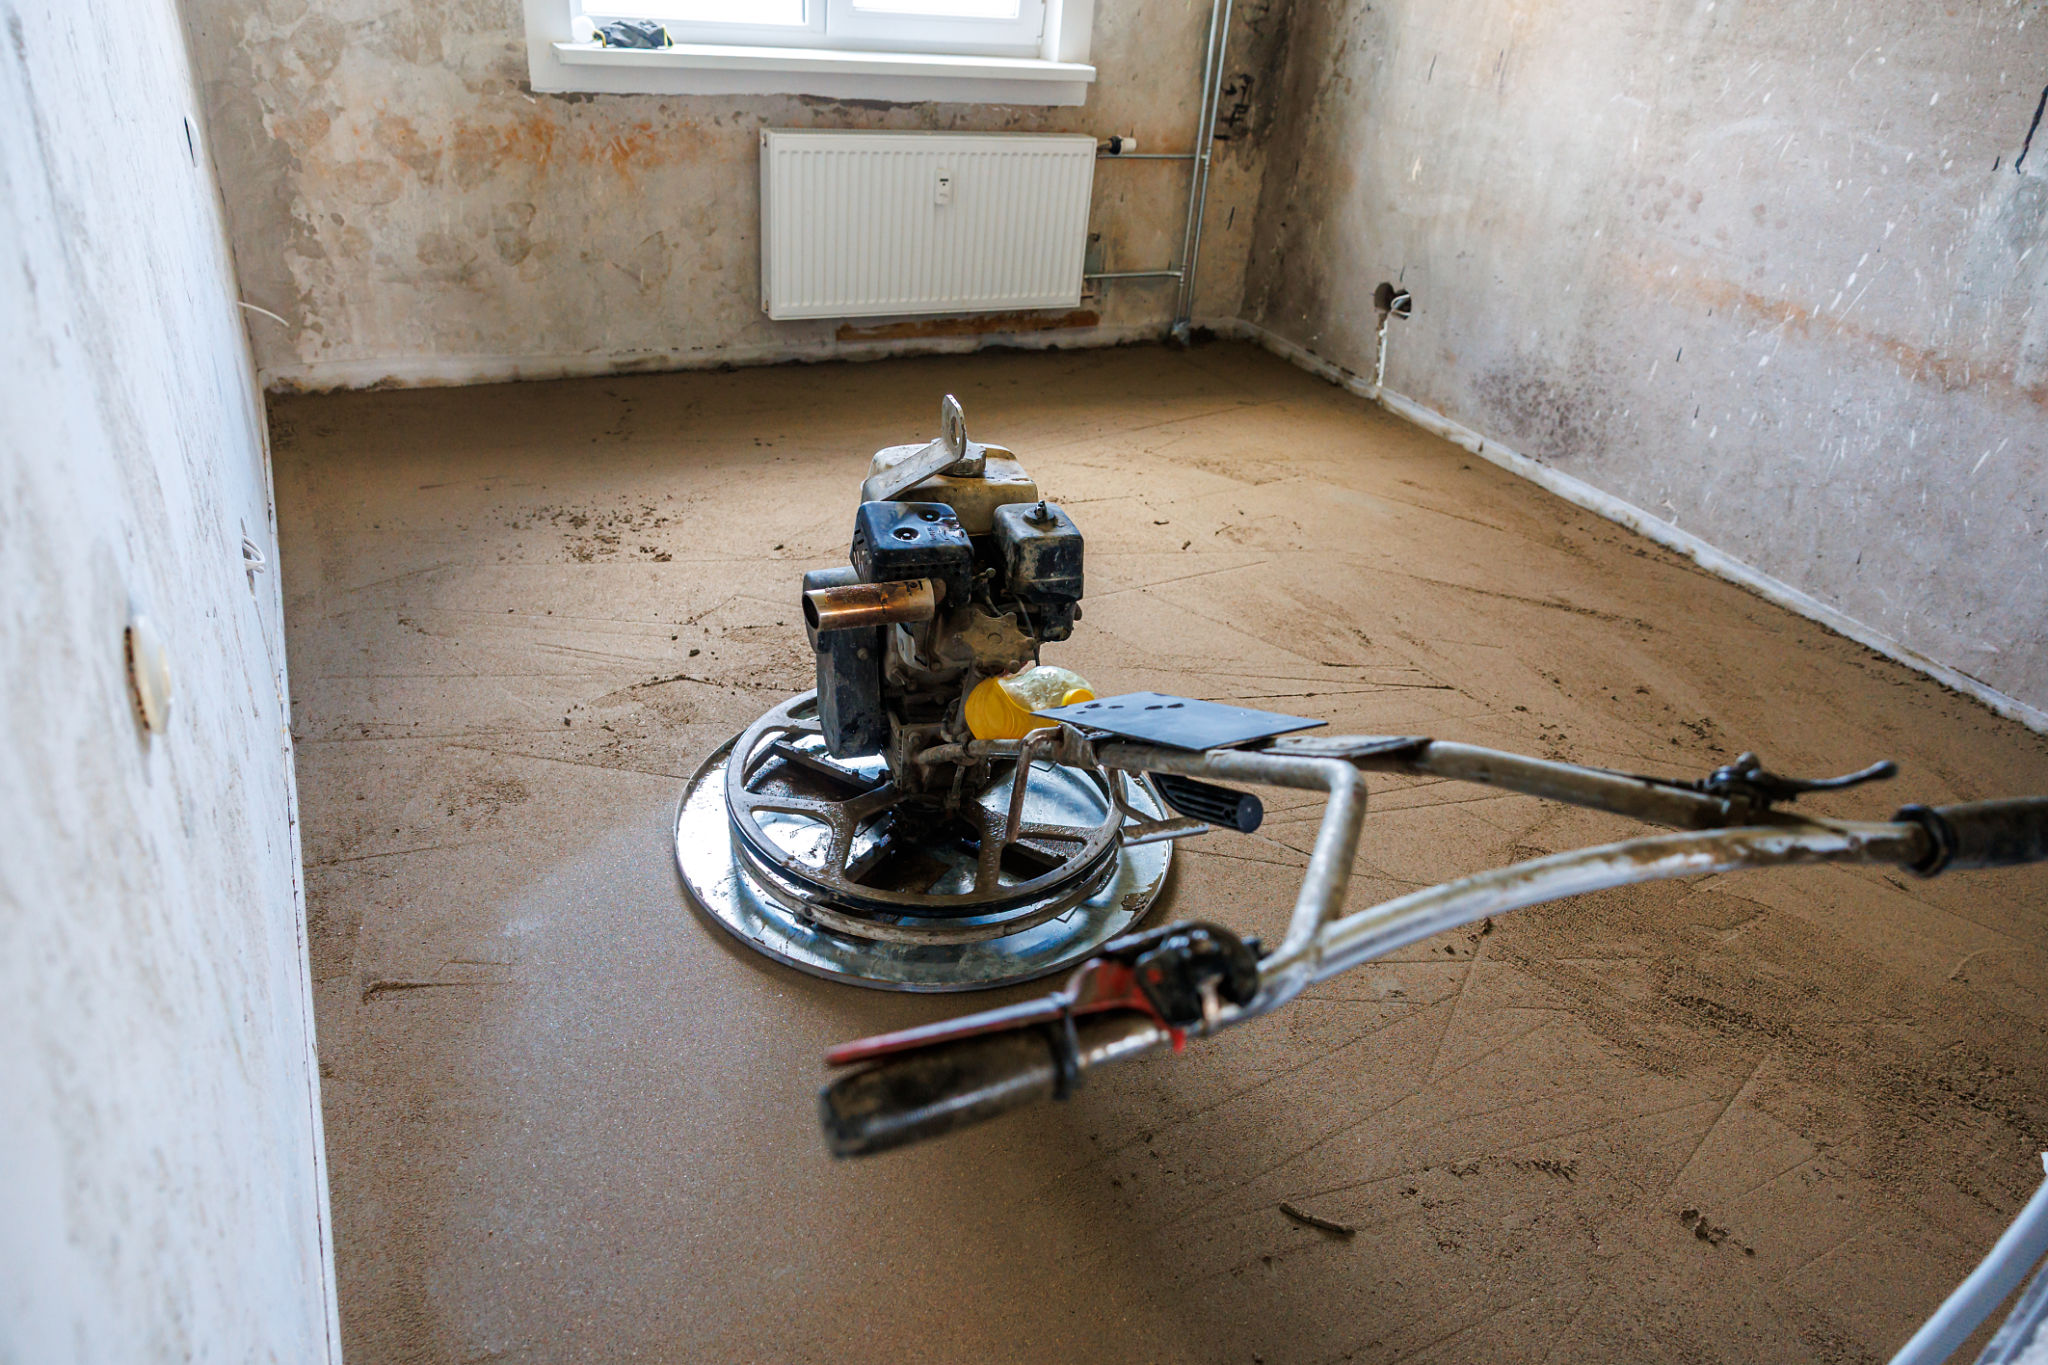
Before you lay down any flooring, ensure your subfloor is in good condition. A clean, level, and dry subfloor is essential for a successful installation. Remove any debris, fix uneven areas, and let the subfloor dry completely if it’s damp.
It's also crucial to address any squeaks or loose boards before proceeding. A well-prepared subfloor not only simplifies installation but also enhances the longevity of your new flooring.
Tools You'll Need
Having the right tools on hand can make a significant difference. Basic tools include a tape measure, utility knife, flooring spacers, and a saw. Depending on your flooring type, you might also need a mallet or a tile cutter.
Installation Tips for Different Flooring Types
Each flooring material comes with its own set of installation guidelines. For laminate and vinyl planks, a click-and-lock system is common, making them ideal for DIY projects. Ensure you leave a small gap around the edges for expansion.
When installing tile, focus on even spacing and use spacers to maintain consistency. For hardwood, consider a nail-down or glue-down method, depending on your skill level and the specific type of wood.

Finishing Touches
Once your flooring is in place, the finishing touches are crucial. Install baseboards or quarter rounds for a polished look. These elements conceal the expansion gaps and provide a seamless transition between the floor and walls.
Finally, clean your new floors according to the manufacturer's recommendations to ensure they stay in pristine condition. Regular maintenance and appropriate cleaners will keep your floors looking new for years to come.
Common Mistakes to Avoid
Avoid these common pitfalls to ensure a smooth installation process. Don’t skip the acclimation step for materials like hardwood and laminate—allow them to sit in the room for at least 48 hours before installation to adjust to humidity levels.
Additionally, cutting corners on underlayment can lead to issues with noise and comfort. Invest in quality underlayment to enhance the performance of your new flooring.

By following these expert tips from Spanish Fork, your DIY flooring installation can be a rewarding project that enhances the beauty and value of your home. Remember, patience and attention to detail are your best tools for achieving a professional finish.