DIY Flooring Installation in Spanish Fork: Step-by-Step Guide
If you're considering a home improvement project in Spanish Fork, installing your own flooring can be a cost-effective and rewarding endeavor. With the right tools and guidance, you can transform your space with beautiful new floors. This step-by-step guide will walk you through the process.
Choosing the Right Flooring Material
The first step in any DIY flooring project is selecting the right material. Consider the room's function, your budget, and your personal style. Common options include laminate, hardwood, vinyl, and tile. Each has its own pros and cons, so take the time to research what will work best for your needs.
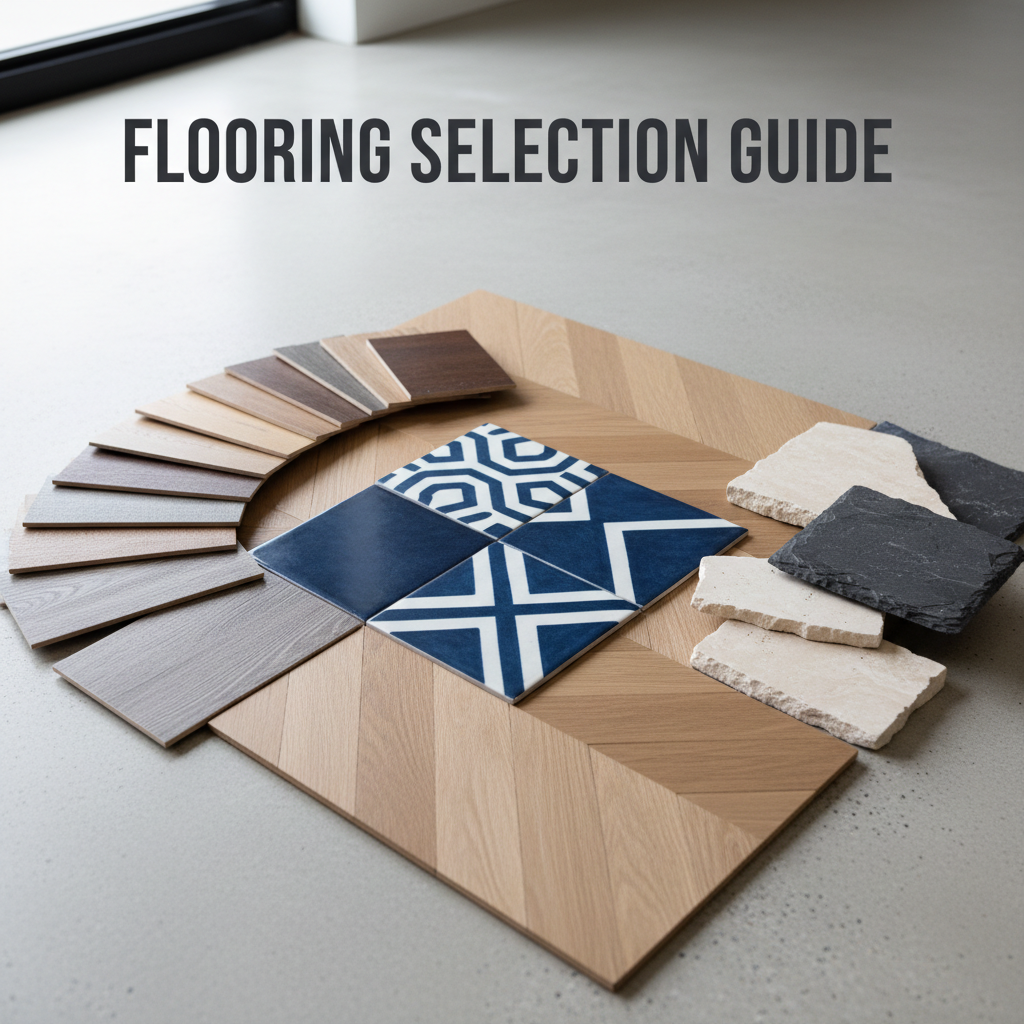
Once you've selected your material, measure the area you plan to cover. It's crucial to purchase a little extra to account for any mistakes or irregular cuts. An additional 10% is usually a safe bet.
Gathering Your Tools and Materials
Having the right tools on hand is essential for a successful installation. Here's a basic list of what you'll need:
- Measuring tape
- Utility knife
- Safety goggles
- Flooring adhesive or nails
- Level
- Saw (if necessary for cutting)
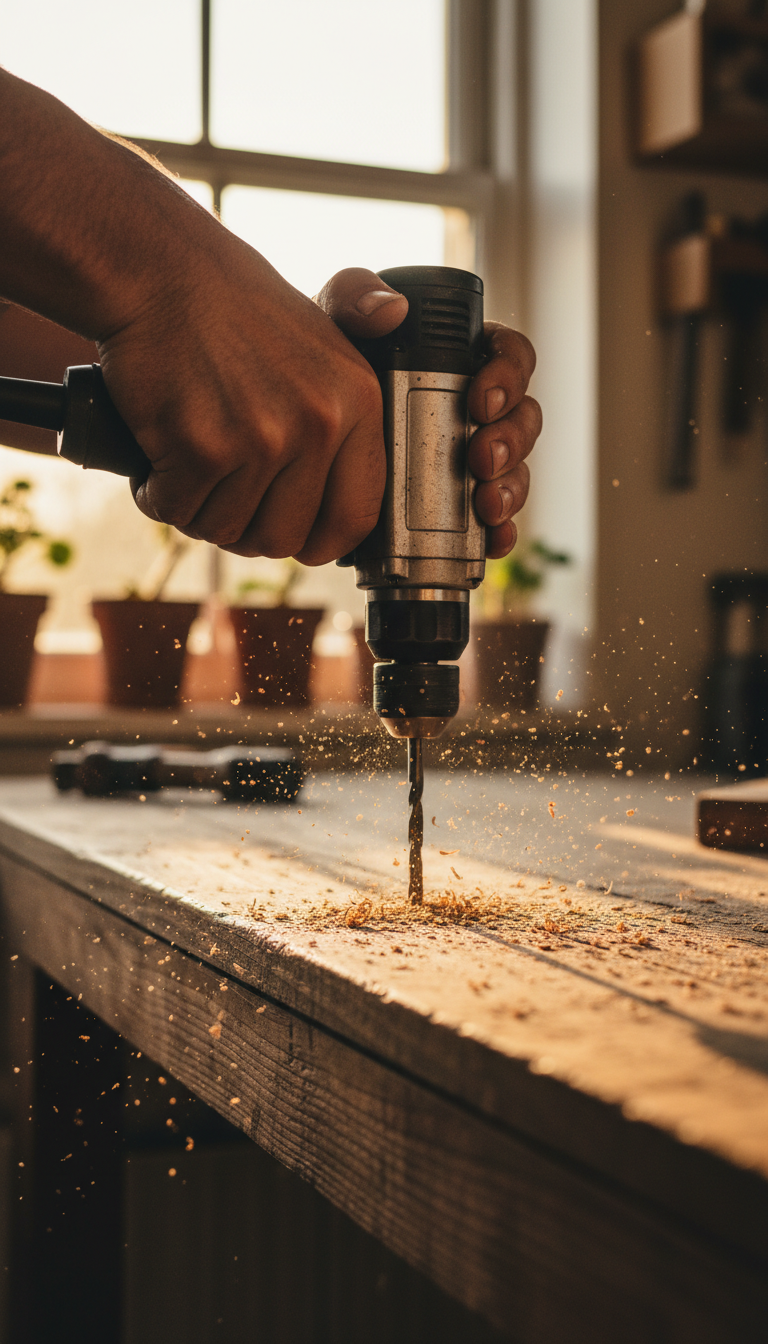
Ensure that your subfloor is clean, dry, and level. This preparation step is crucial to prevent future issues with your flooring.
Preparing the Subfloor
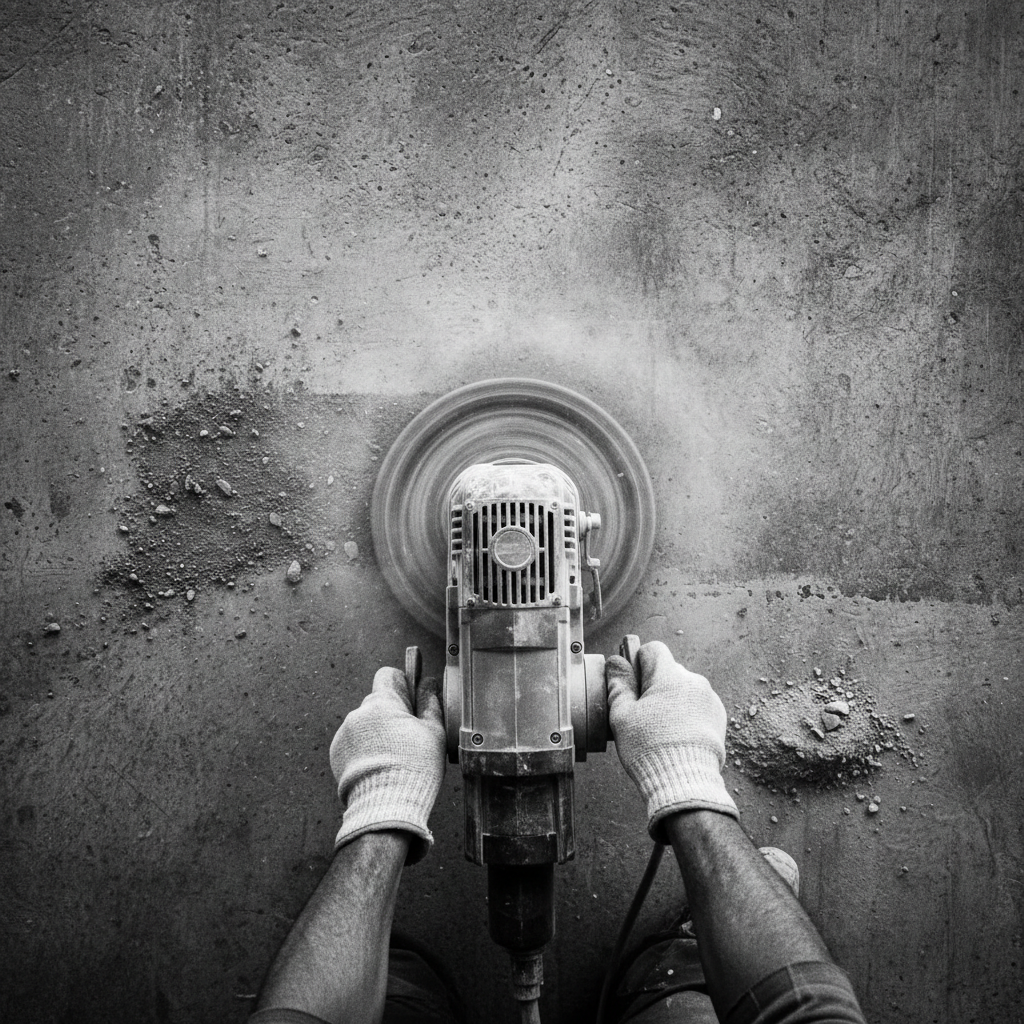
Before laying down new flooring, it's important to prepare the subfloor properly. Remove any old flooring and clean the surface thoroughly. Make sure it's level and repair any damages or uneven areas.
For additional stability, consider installing an underlayment. This layer can provide extra cushioning and sound reduction, especially with laminate and vinyl flooring.
Installation Process
Now that you're prepared, it's time to start installing your new floor. Follow these general steps:
- Lay the first row: Start along the longest wall, placing spacers between the wall and the flooring to allow for expansion.
- Continue laying rows: Stagger the seams for a more natural look and improved stability.
- Cut pieces as needed: Use a saw or utility knife for precise cuts around edges and obstacles.
- Secure the flooring: Depending on your material, use adhesive or nails to fix the flooring in place.
Take your time with each step to ensure a professional-looking finish.
Finishing Touches
After all the flooring is laid, remove the spacers and install baseboards or trim to cover the expansion gap. This step not only secures the floor but also provides a polished look.
Clean up any debris and enjoy your new floor! Regular maintenance will keep it looking great for years to come.
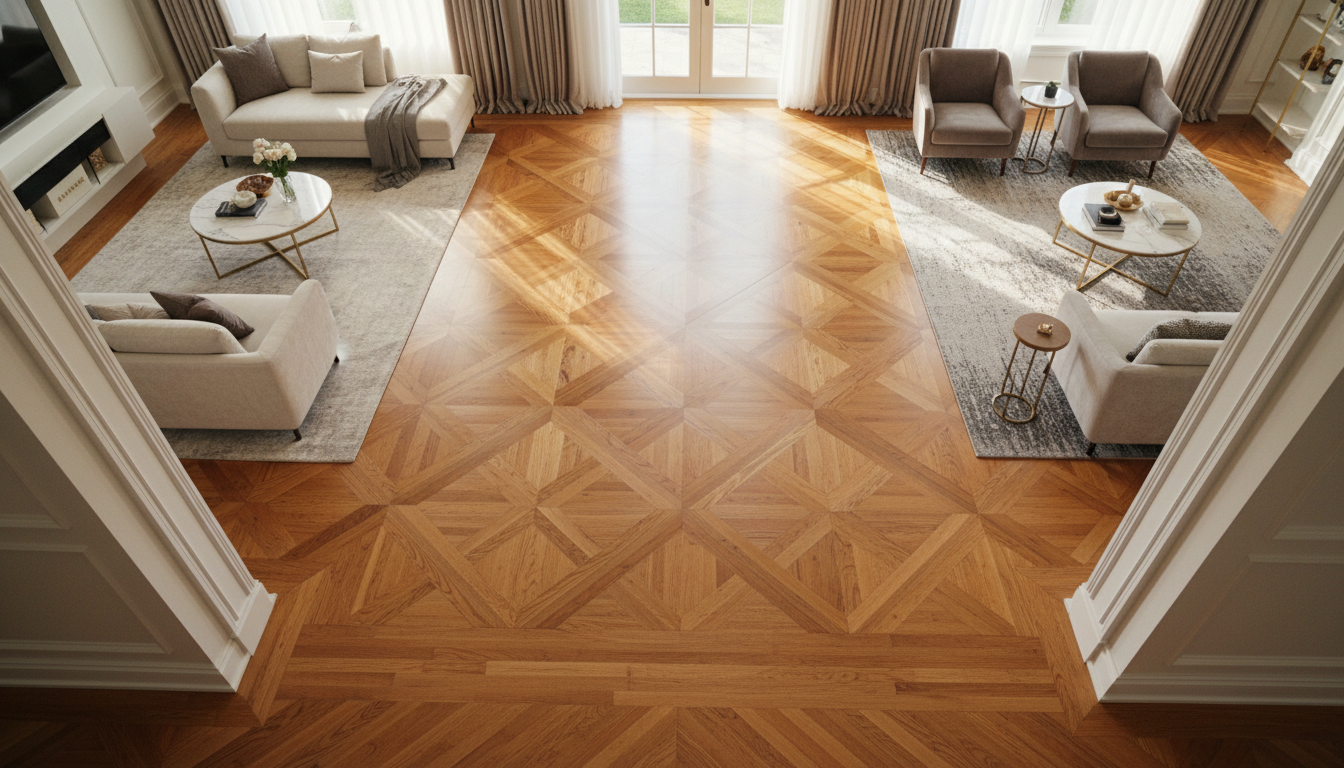
By following this guide, you can confidently install your own flooring in Spanish Fork. With patience and attention to detail, your DIY project will enhance your home’s beauty and value.